F I N E H Y D R O C A L C A S T I N G S
B Y C. C. C R O W
P. O. B O X 1 4 2 7
M U K I L T E O, W A 9 8 2 7 5
U S A
Crow's Home
 Home List Top
 Next Clinic
 Crow's How 2
 Previous Clinic
 Order Crow's
 Contact CCC

|
C. C. Crow's On Line Clinics |
|
AND OTHER MODELING TIPS - LOST WAX BRASS CASTING
Lost wax investment casting is a process that turns a wax pattern into metal. It was developed ages ago to create jewelry and art objects. We model railroaders are most familiar with those incredible details on our brass locomotives. I'll be using the process to make brass production masters for white metal details since they need to withstand heat and pressure during the vulcanizing process of those molds. Making the PatternsThe essential elements of this process are the master patterns. Fortunately (and this is the reason to do this process) you can use just about any material you like to construct your master. It can be paper, wood, plastic, metal- whatever is best or easiest to work with. We'll make a mold of the pattern and reproduce as many wax copies as are required. In the end they will be turned into brass. The lost wax part comes from using a wax model to form the desired parts. They can be hand-built or cast. They are placed in a flask in a tree-like fashion and then investment plaster specifically formulated to withstand high temperatures is mixed with water and poured into the flask surrounding the wax tree. The flask is then placed in an oven and slowly brought up to temperature. Along the way the wax melts and drips down into a pan which is removed before the oven is brought up to casting temperature. By then all of the wax is burnt out and only the hollow shape of our wax tree and the patterns is left in the cavity. A brass casting alloy is melted and poured into the cavity. To make sure it filled every nook and cranny we'll use centrifugal force or a vacuum. In a moment the brass solidifies and the flask is dunked into water. The boiling shock helps break apart the investment plaster, which has done its job. If we are lucky we'll soon pull a brass tree full of nice new parts. 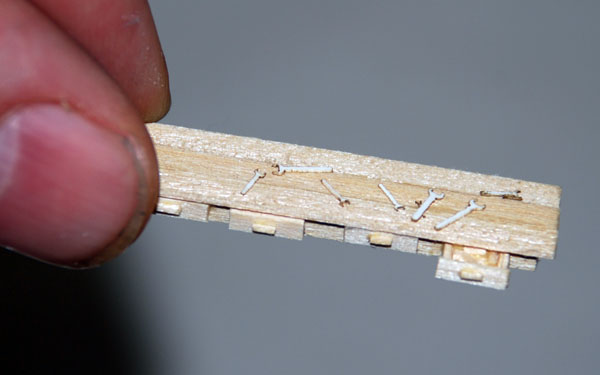
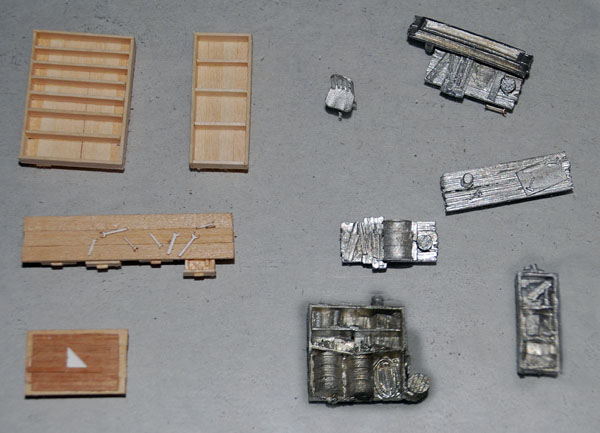
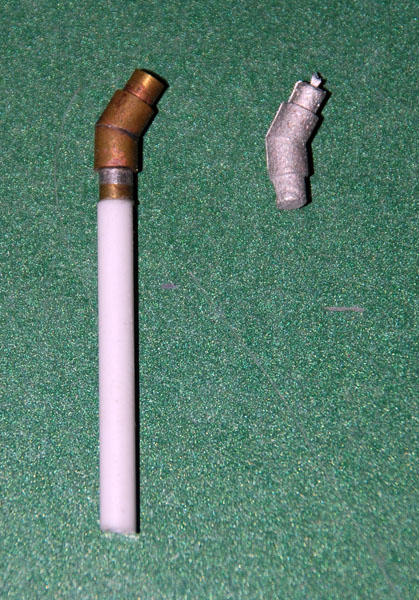
Here are some new HO scale patterns I'm working on. I'm using wood, paper, modeling clay (some good, some bad), plastic and metal. Also included above are some of the Builders In Scale white metal castings. 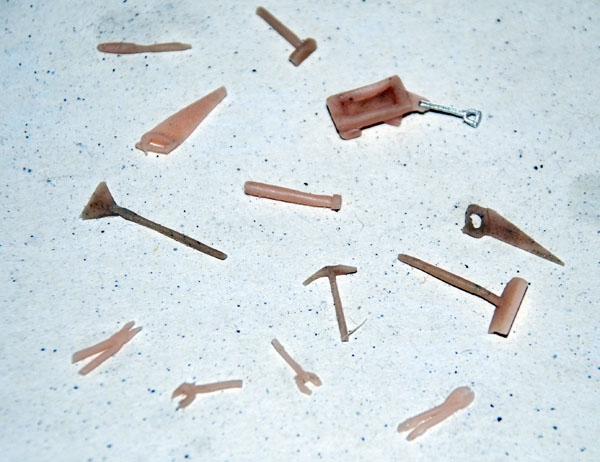
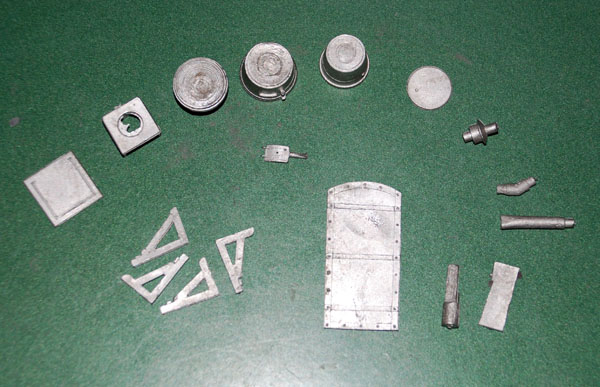
Below we have Glenn Farley's master patterns for the Durango roundhouse. Most are for the stove. 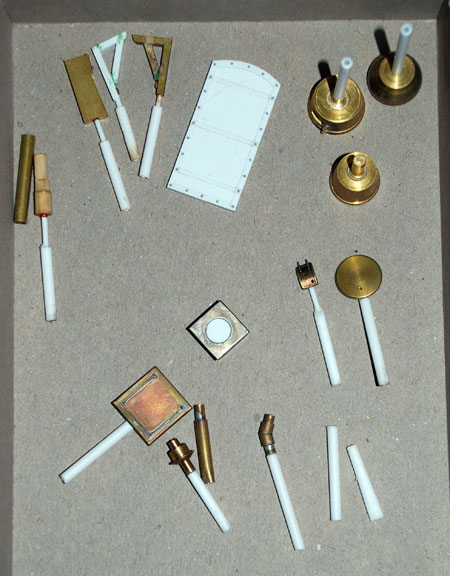
Making Wax MoldsA room temperature vulcanized (RTV) silastic rubber mold is made for each part. We'll use the same Dow Corning 3110 rubber I use for my Hydrocal castings. The masters are mounted on sprues and placed in a U-shaped mold frame with a cone base designed to match up with the wax injector nozzle. Plastic sides complete the mold frame and the RTV is mixed with a catalyst and poured in. Once cured the molds are cut in half with a jagged surface so they will mate back together in good alignment. 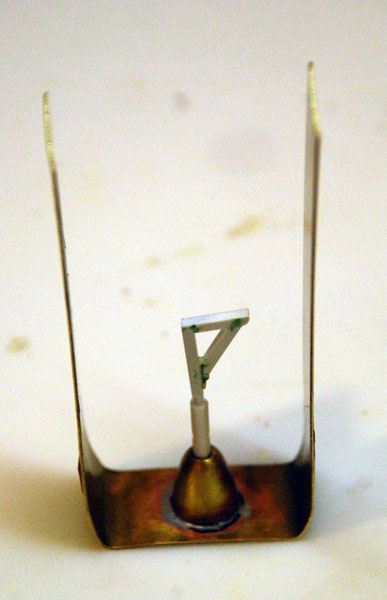
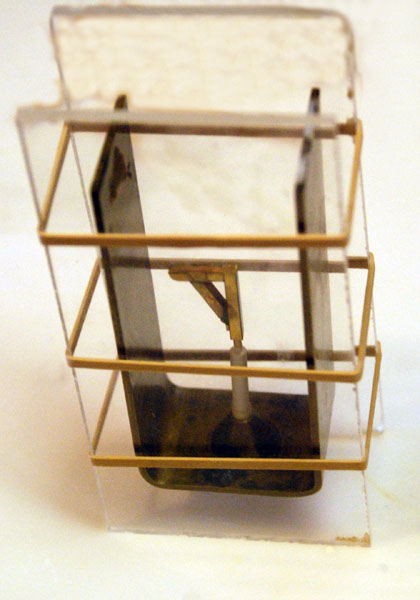
The mold frames are ready to receive the rubber. The mold making is described in another article. Below we have the two mold halves. It was cut with a scalpel in a rippled fashion so they will align properly. 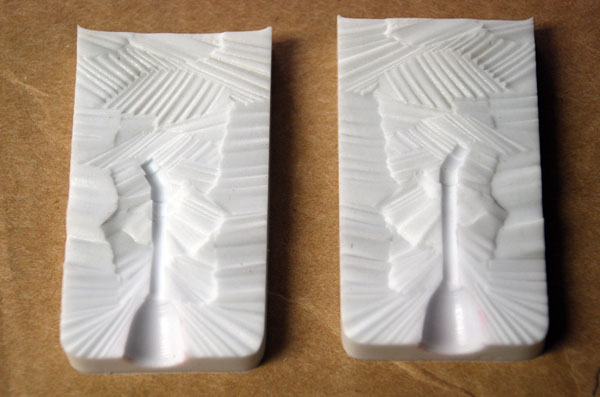
Making Wax DuplicatesWax is heated in a pressurized pot and injected into the molds making wax duplicates. 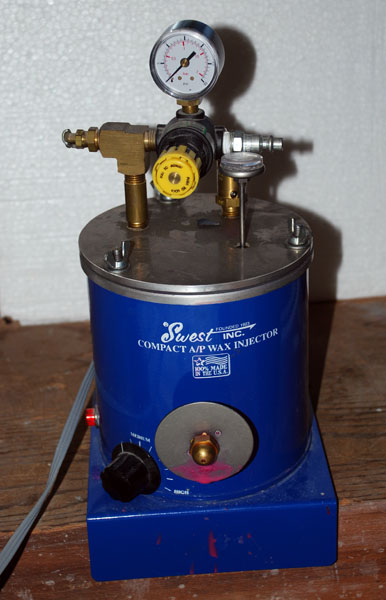
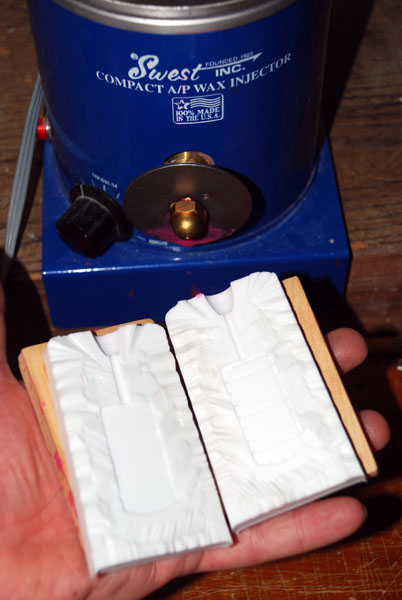
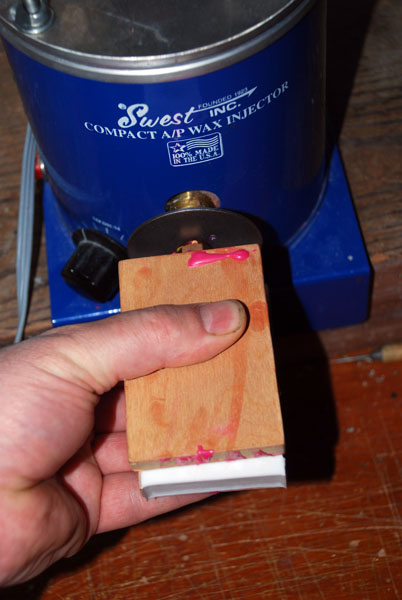
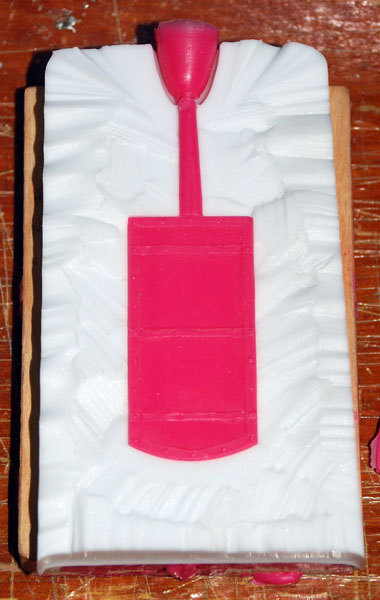
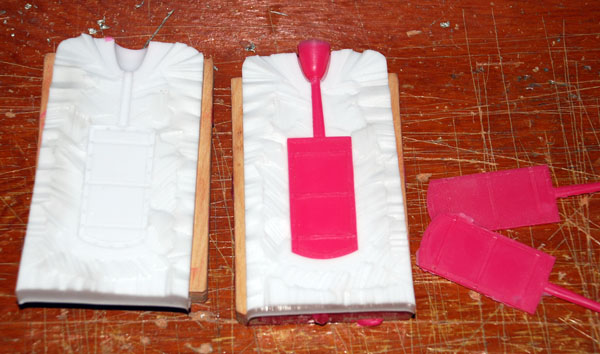
Investing the WaxesThese are stuck to a wax trunk by a heated tool forming a wax tree. The tree is built to fit inside a flask with about 1/4" to spare. 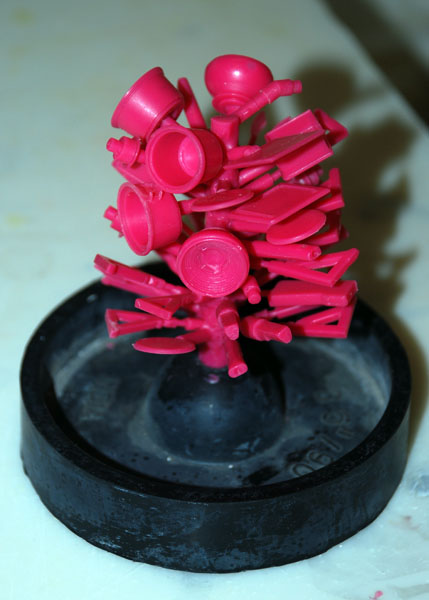
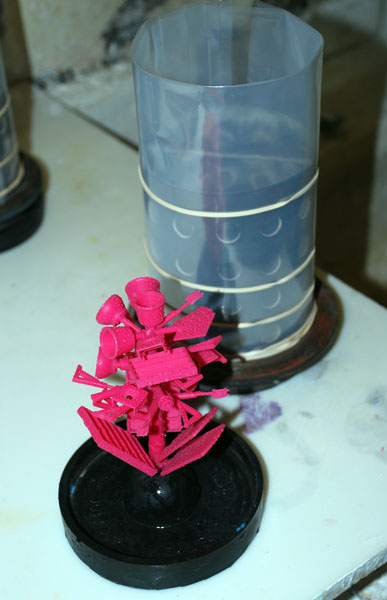
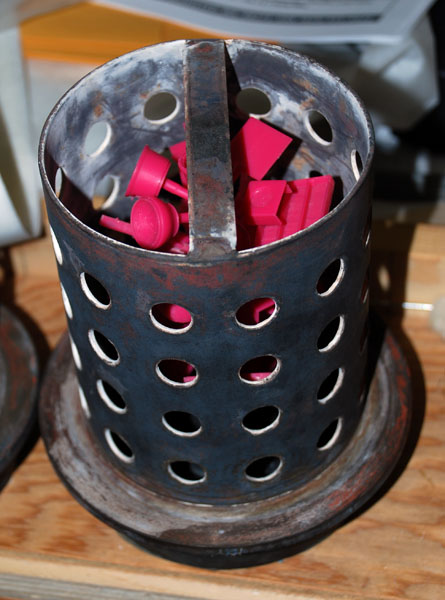
The next step is to seal off the perforated flask with a sleeve and make it ready for the investment plaster. It is carefully mixed, vacuumed, poured into the flask, and vacuumed again. Drawing a vacuum expands any tiny air bubbles and the bubble up to the surface. Otherwise they could leave voids that would fill with metal and ruin the casting. All this must be done in a limited work window of 5-10 minutes. 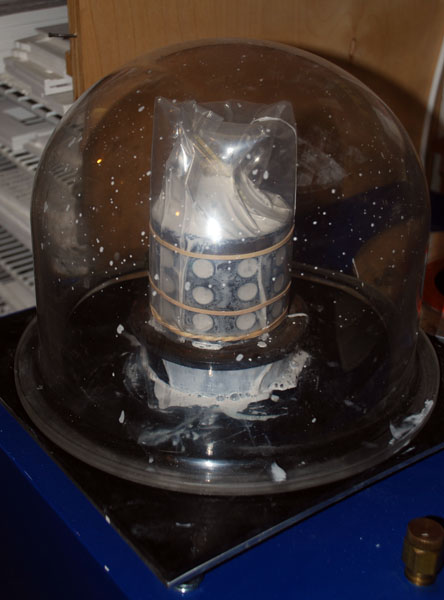
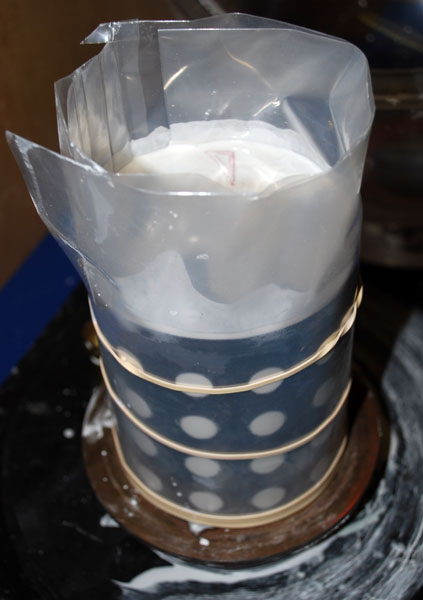
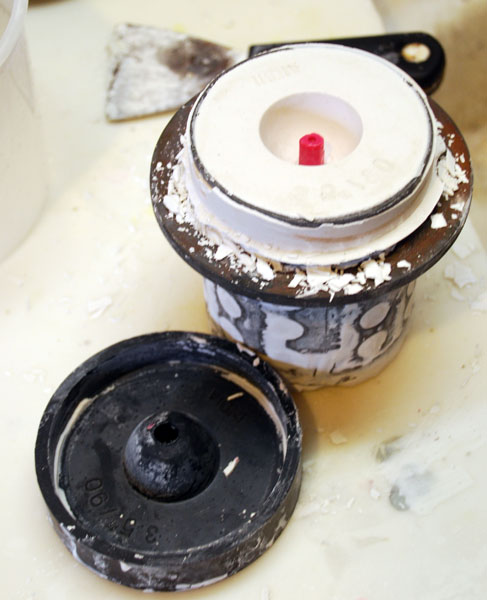
The investment sets in a few minutes and then the base cap and sleeve are removed. Any excess plaster is cleaned off and the flask is ready for the oven. Burning Out the WaxThe burn out takes 8-10 hours. The temperature must rise slowly allowing time for all the moisture to escape, the wax to melt and incinerate all remnants. This means watching it with care. The door is left cracked and inch for the first couple hours as the wax burns. Generally it's checked every hour or so and the temperature is manually controlled by a knob. Finally 1275 degrees is reached and the burn out is complete. The temperature is dropped to the casting temperature of 1150. 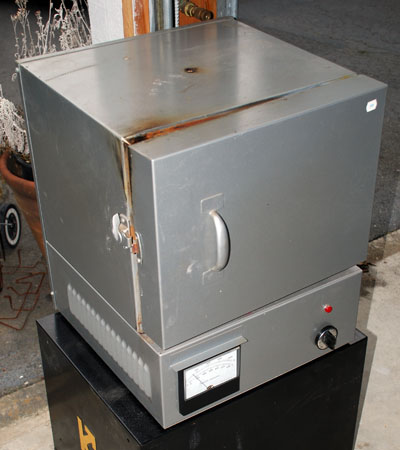
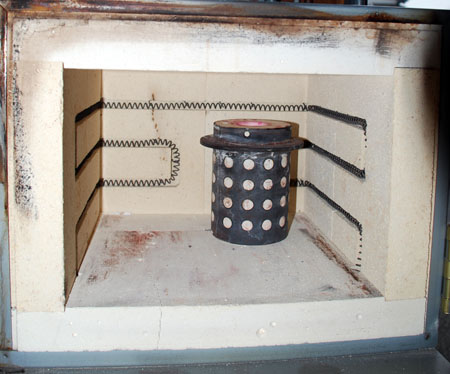
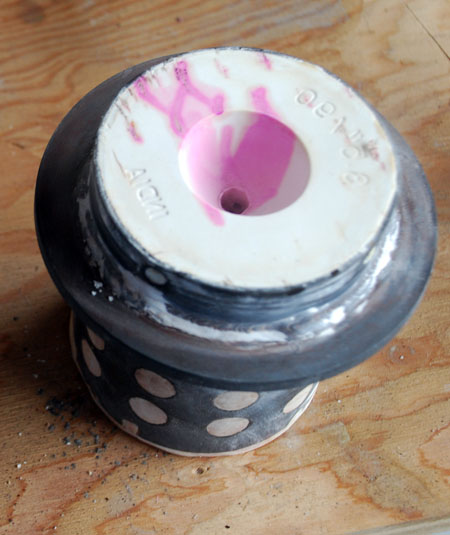
Casting the BrassThere are several ways to introduce the brass. It is melted either by using a torch (there's something about fire and flames) or as shown here we're now using an electric melting furnace. We're also using a vacuum chamber and perforated flasks to pull the liquid brass into the cavity and hopefully fill every corner and detail. Another way is to use centrifugal force with a spin casting machine where the flask is flung on a spring loaded arm. It too is a little more fun- probably because of the better possibility of disaster, flying hot metal, and so on. 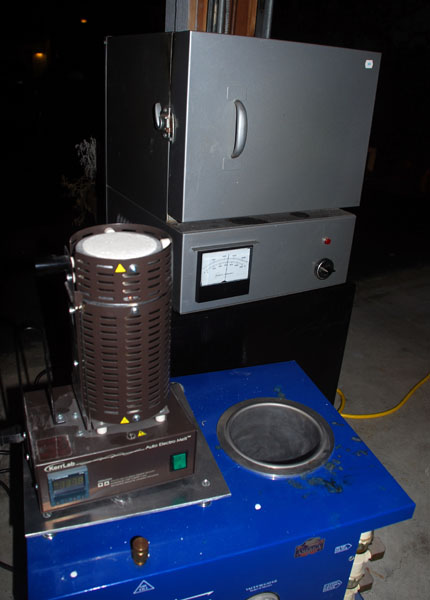
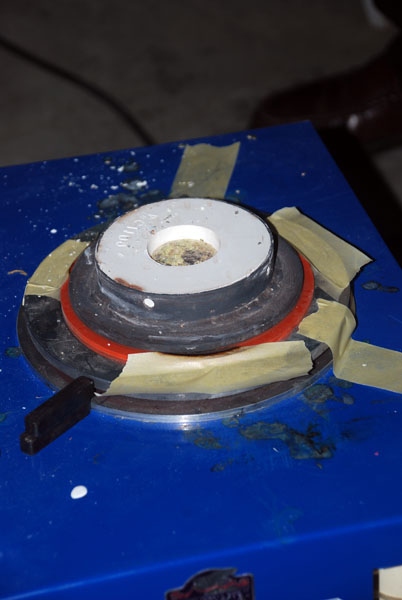
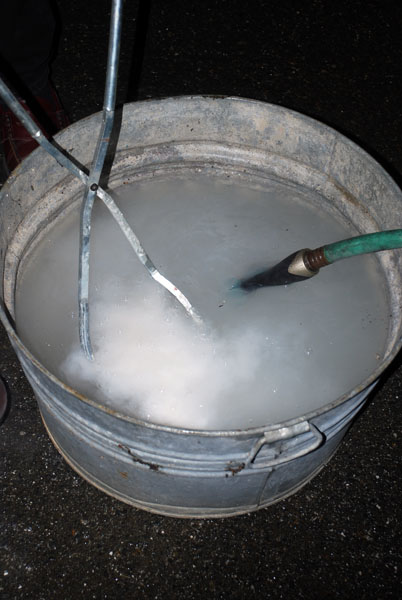
By now we have the brass heated to its casting temperature. The flask is pulled from the oven and placed in the vacuum chamber and the pump is turned on. The gage shows it is pulling the air out and the brass is poured in. In a moment the brass solidifies, the vacuum is shut off and the flask is removed and dunked in water. It boils like crazy and the investment having done its job is knocked apart revealing our new brass parts. 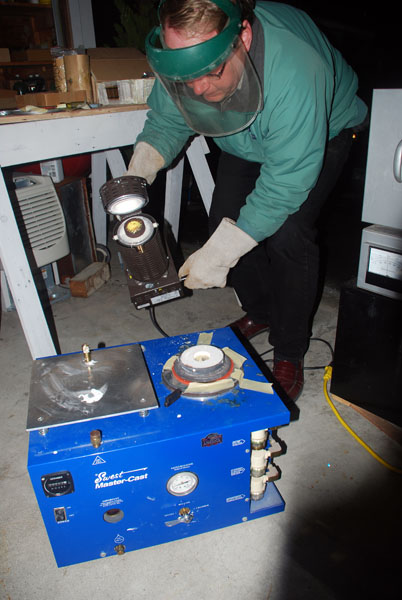
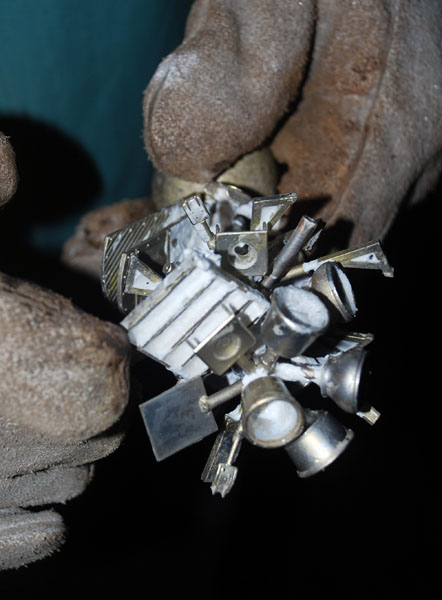
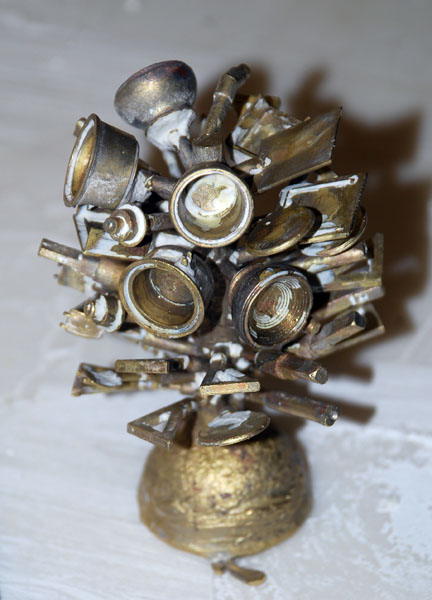
Finishing UpThe brass parts are cut from the sprues and cleaned up. Each is inspected for flaws. Remember, if you have a flaw anywhere along the line it is going to show up on all the subsequent duplicates so we only want the good ones. These look good. We did have a few screw-ups. One tree was ruined as we failed to get a good vacuum. May fault for taking pictures! Another was prone to surface berries so we must have had a poor vacuum when we invested that one. Good thing we did twice as many as we needed. In the end we had two full sets of the required parts which was just enough to fill the white metal mold. All of these steps take good timing. It's best to begin the burnout soon after investing the flasks. The burn out takes 8 to 12 hours. And then the casting a couple more. You are almost stuck with doing this overnight or finishing at midnight. 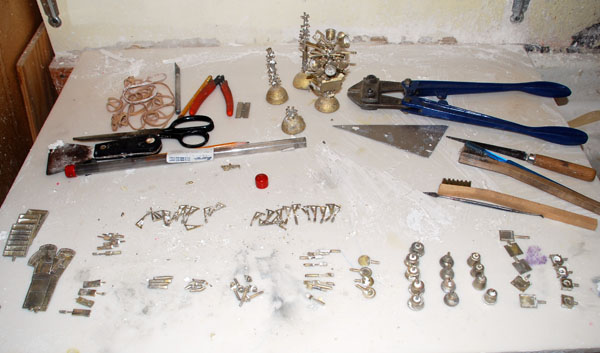
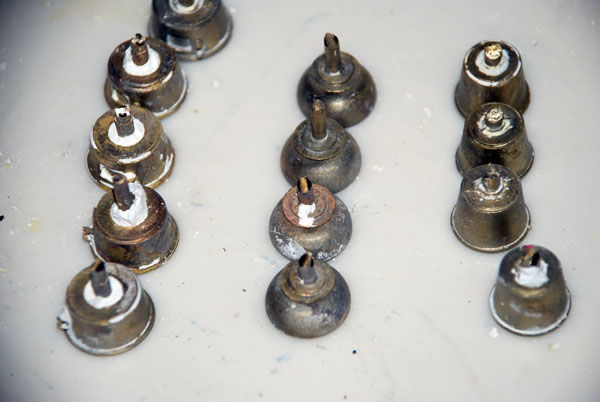
Next step, we make molds for white metal spin casting! 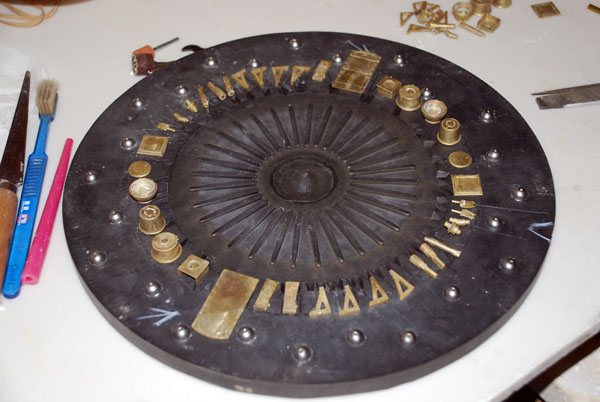
Copyright C. C. Crow, 2009, all rights reserved
|
