O List Top
Crow's How 2
Order Crow's
Contact CCC
O List Top
Crow's How 2
Order Crow's
Contact CCC
F I N E H Y D R O C A L C A S T I N G S
B Y C. C. C R O W
P. O. B O X 1 4 2 7
M U K I L T E O, W A 9 8 2 7 5
U S A
|
Crow's Home
O List Top
Crow's How 2
Order Crow's
Contact CCC
|
O SCALE STRUCTURE KITS
|
|
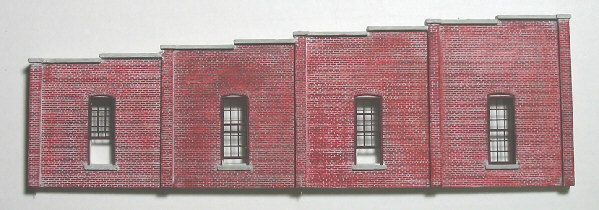
Sidewall of my S-scale pilot model |
|
The Denver & Rio Grande - DURANGO and GUNNISON Roundhouse! ! LET'S MAKE SOME MOLDS !With the patterns complete we now move on to making the rubber molds. I'm using Dow Corning HS II RTV base with the Clay catalyst, which is a very strong and flexable silastic moldmaking rubber. Since I have already composed an article on mold making I will direct you there: Crow's How 2 - Mold Making
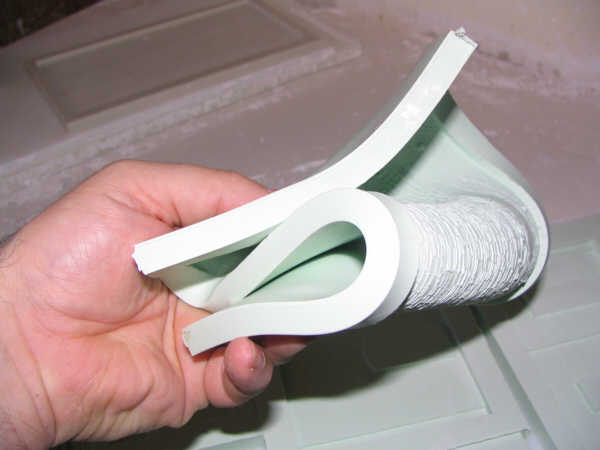
The new rubber is very flexable. Here's a look at some of the new molds I've made. That green sort of growns on you. After 20 years some of my original 3110 RTV molds are finally breaking down. Subjecting them to an alchohol wash (de-bubbling agent) didn't help. I'll be more careful with the new ones. The HS II requires vacumm de-airing in the process. 3110 does not. The HS II is very stong and flexable.
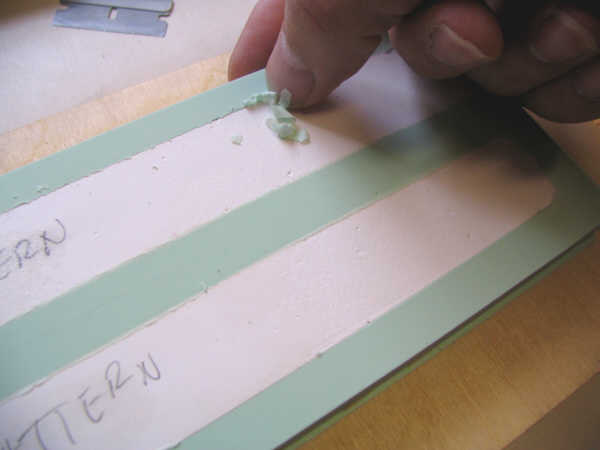
When complete the patterns are sealed with Scalecoat Sanding Sealer.
The patterns do not have to be glued down to the base but there's a risk of them shifting out of place and/or breaking.
Here's a series of parts that will all be on the same mold. I've glued them to the plywood base.
Be sure to fill any openings underneath the patterns with putty, wax or other.
Petrolum jelly is used as a releasing agent on the patterns and boards.
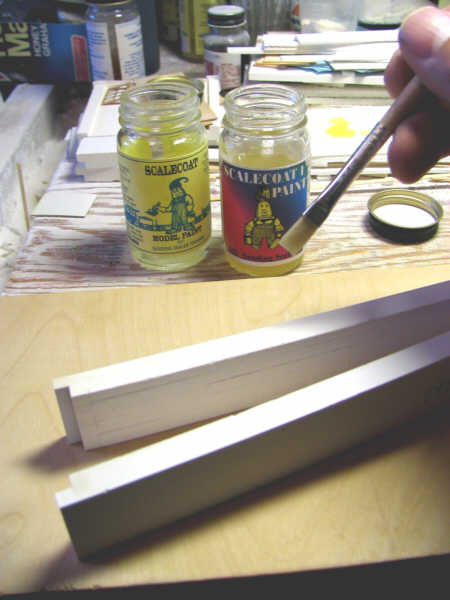
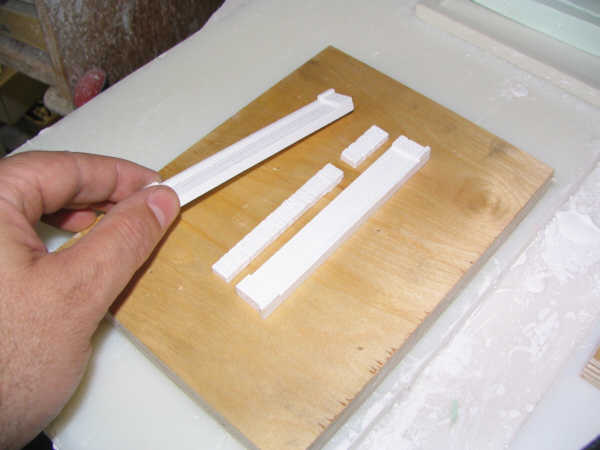
Simple dams are built with stripwood. I'm leaving a 1/2" wide boarder around each piece and about 3/16" of thickness. I'm using Dow Corning's HS II silicone rubber for these molds. It's softer and more flexable than the 3110 I've normally used. The HS II requires more careful measurement and vacuum de-airing which the 3110 does not (though its recommended). We'll see how it goes. Of course there are a number of choices and brands. This is just what I use for Hydrocal casting.
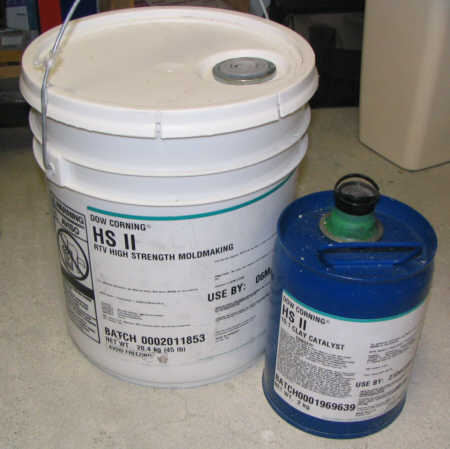
HS II RTV rubber base and Clay Catalyst.
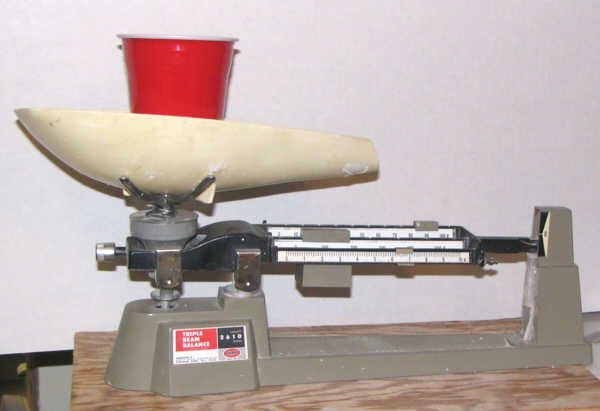
One scoup of rubber base is about 100 grams.
The rubber and catalyst is carefully weighed out for the 10:1 ratio.
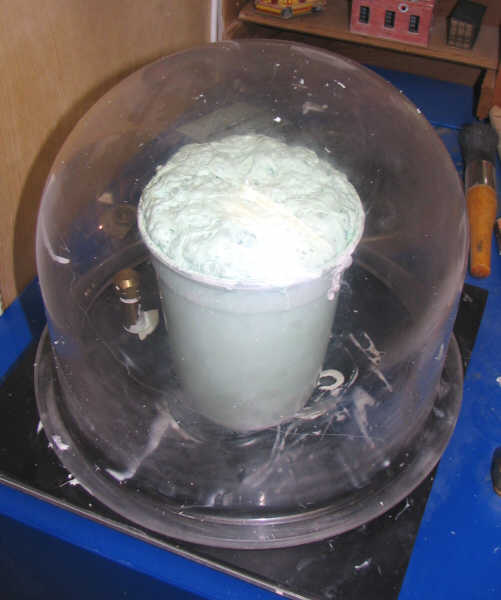
Once mixed the HS II rubber is vacuum de-aired to eliminate bubbles.
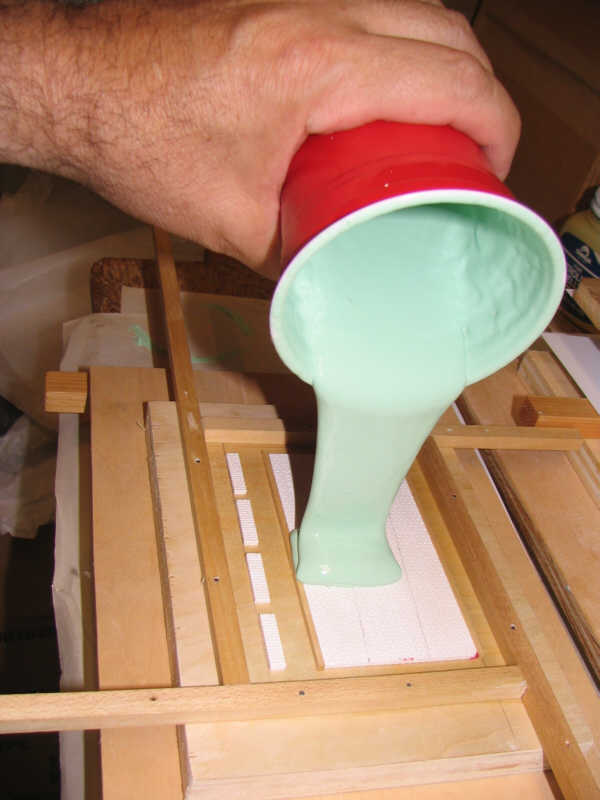
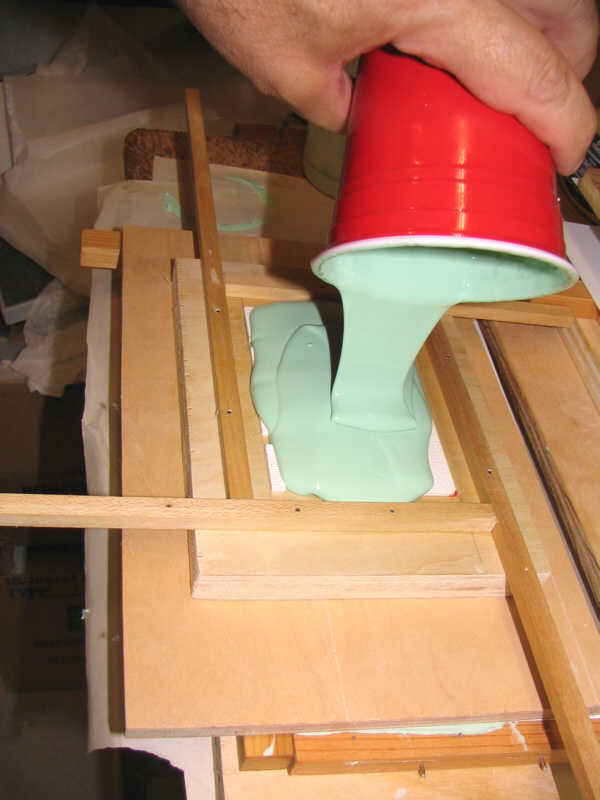
The rubber is poured into the mold box.
Just a little more.
The mold box is vigorously tapped to help any trapped air bubbles rise to the surface.
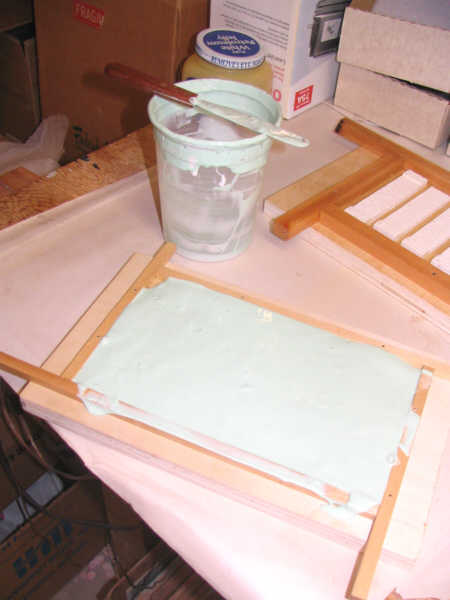
In order to get a perfectly smooth back on the new mold a sheet of styrene is placed over the rubber and then a flat board followed with some weight. I'm using a drill press vise for this.
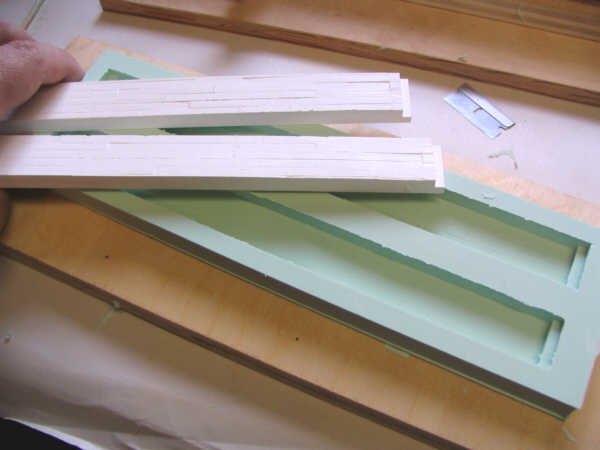
In the morning a stack of molds for the Durango rounhouse are ready to have the patterns removed.
Here's that sheet of styrene being removed.
We have a nice flat back.
The excess rubber is trimmed off.
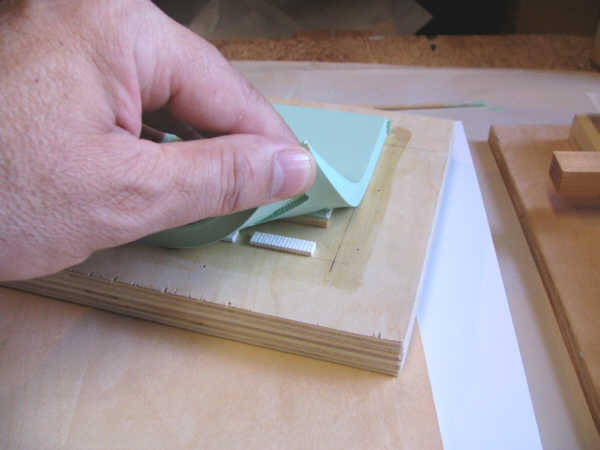
The new mold is gently pulled away from the pattern.
Being careful not to damage the pattern.
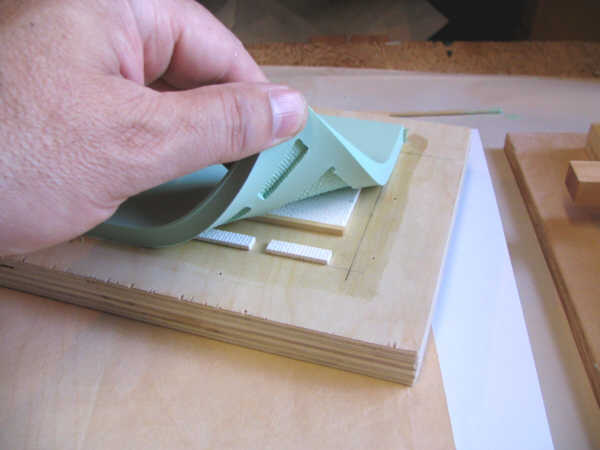
Almost have it.
Now we can reproduce those parts.
On some larger pieces I do not glue them to the board. Some rubber may migrate underneath the pattern. Before removing the pattern from the new mold the excess can be simply removed with your thumbnail or a razor.
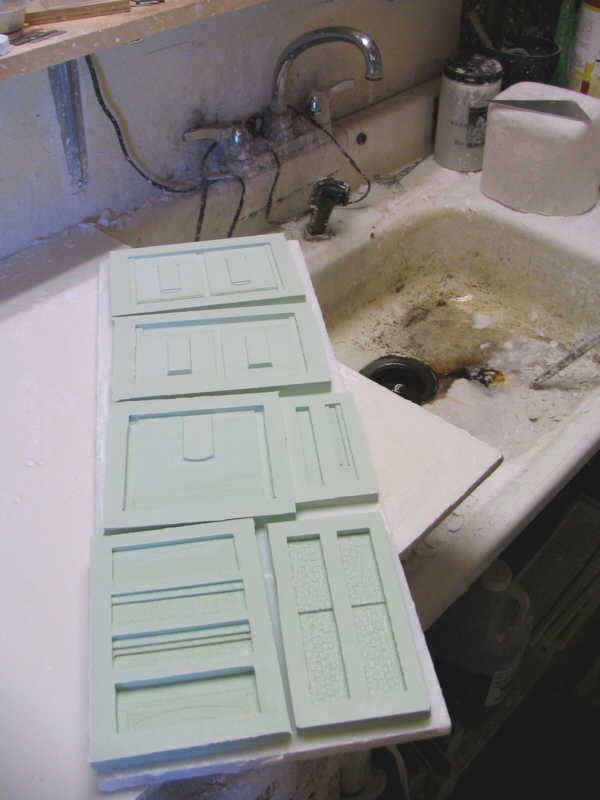
Here are the inspection pit side walls. NOW WE CAN DO SOME CASTINGSo now we can start castings. I'm always excited about new molds. I've been working on these patterns for months now so finally we can start pouring and make dozens of them if we want.
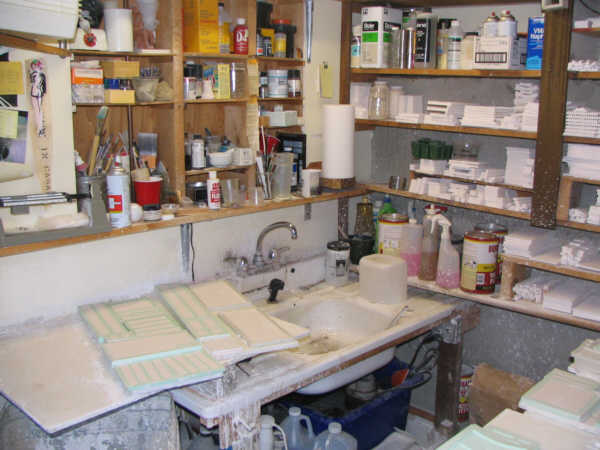
Durango rounhouse. Mold sink. Don't do this in the kitchen sink. Not if you want your wife to ever talk to you again. I've plumbed in an old sink and have a trap underneath it to catch all the plaster chunks and yuk.
Here's the trap. About once a year it needs to be cleaned out. One of those dirtiest jobs you see on TV.
Close-up of a four pocket mold. These are for Gunnison's front portal.
I've just poured the Hydrocal in these molds and tapped them vigorously to help remove any trapped air bubbles. In a moment they will begin to harden.
Before the Hydrocal gets too hard the backs are scraped smooth. It must be done gently on the HS II as it is much softer than the 3110 rubber I'm used to.
Now we let them set up.
In 15-20 minutes the castings are hard enough to remove from the molds.
The castings are gently removed from the molds.
The molds are rinsed off and the process can start one again.
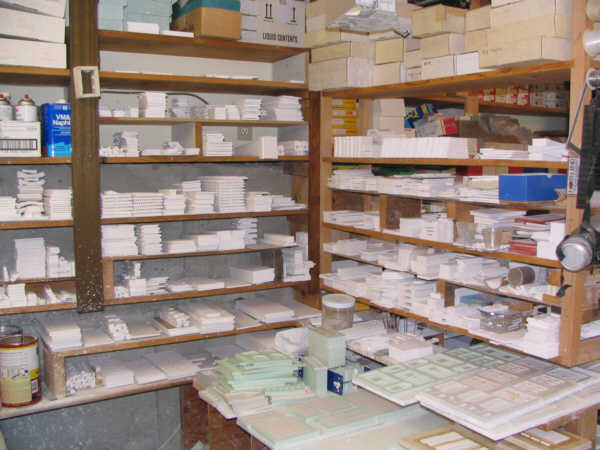
All that HO scale stuff looks so small! Where the heck am I going to stack the new castings? Somethings got to give.
The casting sink corner. NARROW GAUGE RESEARCH CENTER
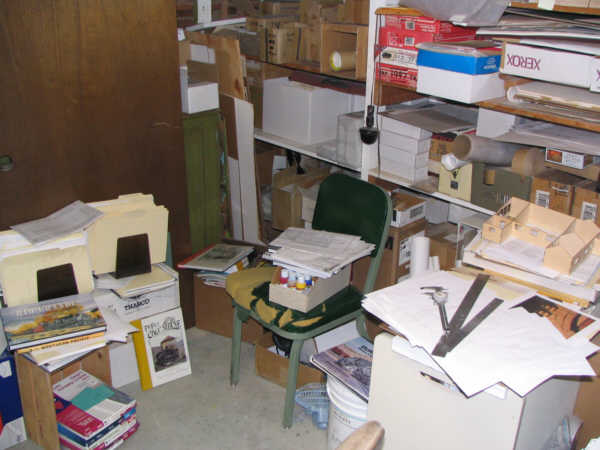
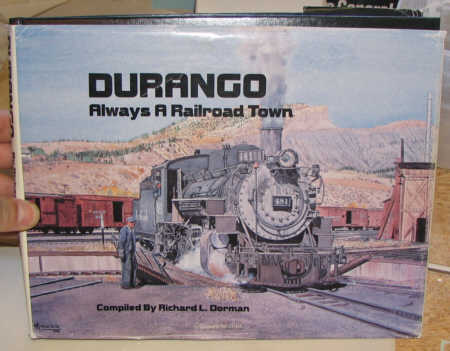
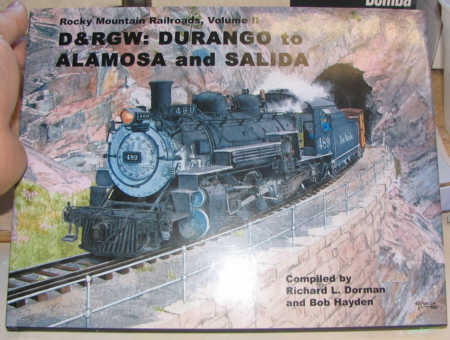
Here's the research library for the Durango roundhouse.
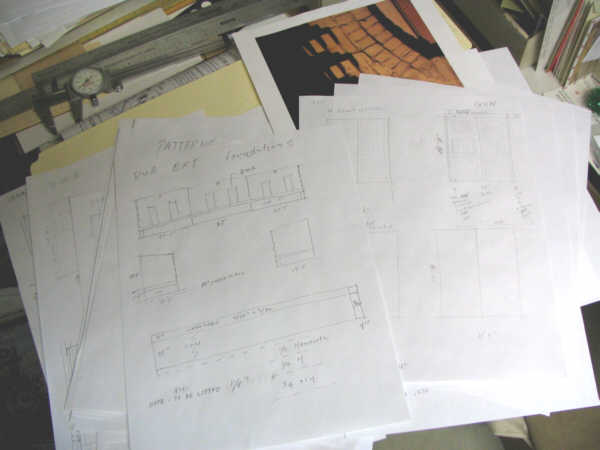
Some sketch notes.
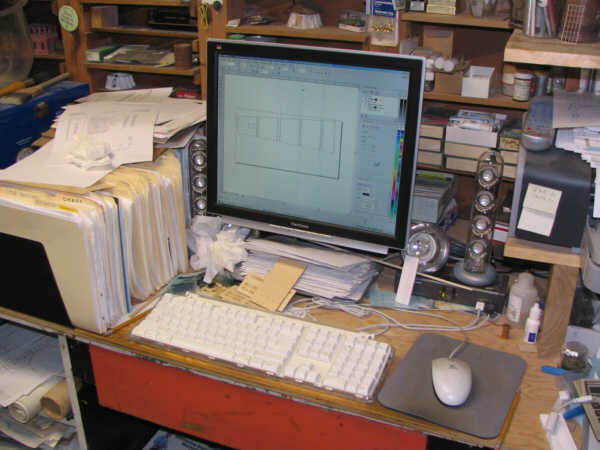
The laser computer desk.
We're using Corel Draw to run the laser. Looks like the roof panels for Gunnison'e extended stalls are on the screen.
Durango rounhouse.
Durango rounhouse.
Durango rounhouse. Link to next section: Constructing the Base Link back to: Durango Roundhouse Page
|
C. C. CROW P. O. BOX 1427 MUKILTEO, WA 98275 USA